As we share out our SharePoint online project sites with external users (clients and vendors), I have been sending out a pdf (based on a template) to them to assist in the process of getting them set up with a Live account. Of course this Live account is only required if they do not have an Office 365 account through their own organization. Our goal is to make the process as easy as possible so our external users find our collaboration sites easy to use and an effective method for communication.
If you are curious about why you need a live account, see my blog on External Sharing for SharePoint Online.
Instructions for Connecting to <External Environment Name>
<Client Name> shares all information through Office 365 SharePoint online to ensure swift and clear communications. No more proposals or updates lost in email or stuck while someone is on vacation! This process only needs to be completed once and will be used for the duration of the work performed with us.
If you have any trouble following the below process for logging in, please contact us at 555.555.5555.
Microsoft’s official instructions (without screenshots) can be found here: http://windows.microsoft.com/en-us/windows-live/sign-up-create-account-how
-
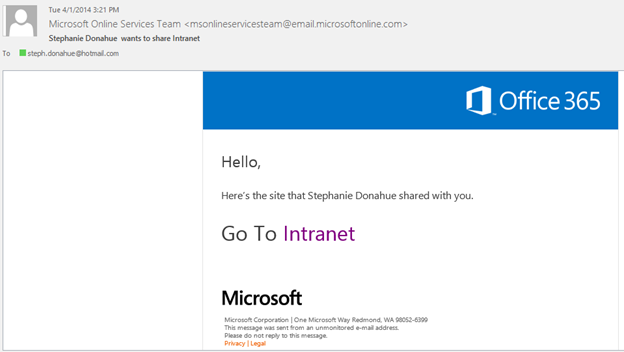
You should have received an email invitation from Microsoft Online Services Team. Click the link to Open the site.
-
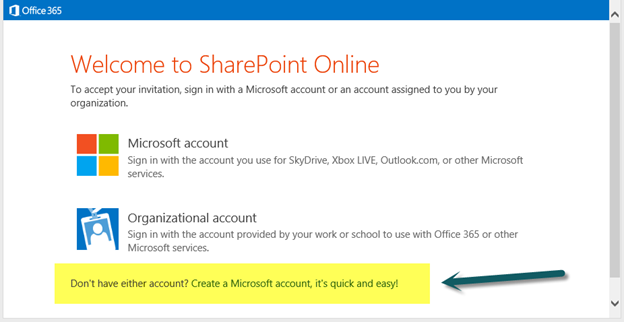
When prompted, select “Create a Microsoft Account”. You will be creating an Office 365 Live account using your corporate email address.
-
Create your live account or use an existing one and add your corporate email as an alias. Where it says “How would you like to sign in?” Add your personal corporate email address that the invitation was sent to.
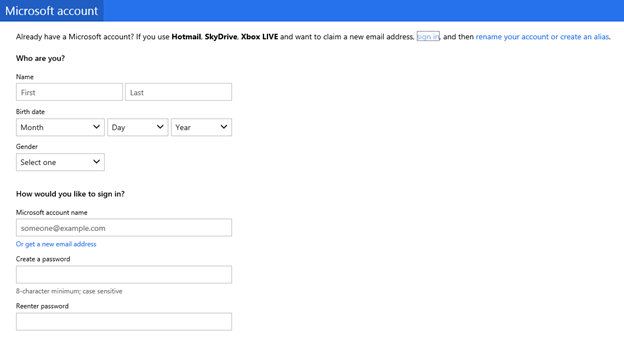
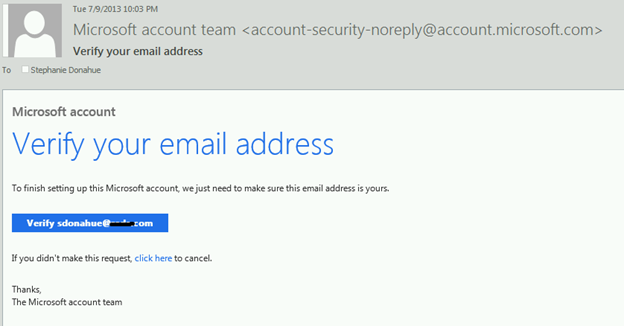
- Your corporate email will receive another notification to approve the live account creation. This ensures that the correct email address has been entered and there is authorization to use it.
-
Once your email address has been verified, you can now log in and view your project sites and documents! Go back to the original email and click the link to open the document. Make sure to select “Microsoft Account” (not Organizational Account) if prompted.


